How to make digital photos look like film on Mac
This guide takes one session of photos from the original files to an exported result with a film look, and explains each decision on the way. The steps are shown in Grain Archive Lab, our Mac app. If you would rather keep your editor, the same order works there, and our presets bring the film looks into darktable, Photomator and Lightroom.
Short answer. Start from the best file you have, ideally a RAW. Choose the film you are after before you touch a slider. Get exposure and white balance right, then the color and contrast of the film, then grain and halation if the photo needs them. Judge the result at the size it will be seen, export it, and look at the exported file. A digital photo edited this way borrows the look of a film; it does not become a film scan. And a film look is not the look of an early digital camera, which has its own digicam look.
Start with a usable original, not a damaged JPEG
A film look changes color and tone a lot. It works best from a file that still holds the information:
- A RAW file, if you have one. Grain Archive Lab opens the RAW files of the cameras macOS supports, as well as JPEG, HEIC, TIFF and PNG. A RAW and a JPEG of the same name count as one photo.
- The original, not a copy that has been shared. JPEG compression discards detail in blocks of 8×8 pixels, and pushed too far the losses show [1]. Each new compression can add to them.
- Highlights that are not burned out. Detail lost in a clipped sky does not come back with a film look. In Grain Archive Lab, Clipping (J) marks the clipped highlights with stripes and the clipped shadows with dots.
In Grain Archive Lab, open the folder with New Session from Folder (⇧⌘O). The app never writes to your photos: a session only lists them, and exporting makes new files.
Choose a film reference before changing sliders
“Film” is not one look. A color negative, a slide film and a black and white film have different color, contrast and grain, and the same film changes with exposure, development and printing. Choosing one first gives every later decision a target:
- A color negative such as Kodak Portra 400, described as warm and natural with low to medium contrast.
- A slide film such as Fujifilm Velvia 50, saturated with high contrast.
- A black and white film such as Kodak Tri-X 400, contrasty with visible grain.
Each film sheet of the archive gives the film’s look, contrast and grain from its datasheet and published reviews, with their sources. Film does not always mean orange, faded or very grainy: Kodak rates Portra 400 at a Print Grain Index of 37 in a 4×6-inch print from 35 mm, where 25 is about the threshold of visible graininess [2].
In Grain Archive Lab, the browser on the left of Develop (⌘2) shows every look on your own photo: point at a look to see it in the viewer, click it to apply it. ⌘F finds a look by name, ISO or process (c-41, e-6, bw).
Set exposure and white balance, then color and contrast
Work from the light to the look:
- Exposure. Brighten or darken the light reaching the film. Highlights and Shadows lower or raise only the bright or dark parts of the scene, before the film: bring back a sky, open up a shadow.
- White balance. Temperature and Tint set the color of the light. A color cast left in the photo stays under the film’s color.
- The film’s color and contrast. In Easy, the inspector shows three versions of the look on your photo, Subtle, Standard and Strong: click one. Advanced shows every setting, starting from the version you chose. Amount sets how much of the look you apply, from 0 to 100%.
- The print. Print sets the print made from the film: Density (lighter or darker), Contrast (a paper grade in black and white), Saturation, and the cyan, magenta and yellow printing lights that shift the color.

Add grain and halation only when they serve the photo
- Grain. In Grain Archive Lab, each film look brings the grain of its film, set from its datasheet: fine for a slow film, coarse for a fast one. Amount, Size, Color and Format change it; Format stands for 35 mm, 120 or 4×5, since a 35 mm frame is enlarged more for the same print and shows more grain [2]. Pushing the film adds grain and contrast, as in development. If the photo already has noise or very fine detail, lower the grain rather than stacking one texture on another.
- Halation. A glow around bright points or edges, caused by light reflected back into the film. Many films, and almost all motion picture films, have a layer that prevents it [3]. It suits small, bright lights against darker areas: street lights, lamps, reflections on water. In Grain Archive Lab, Threshold chooses which lights glow, then Amount and Spread set how strong and how far.
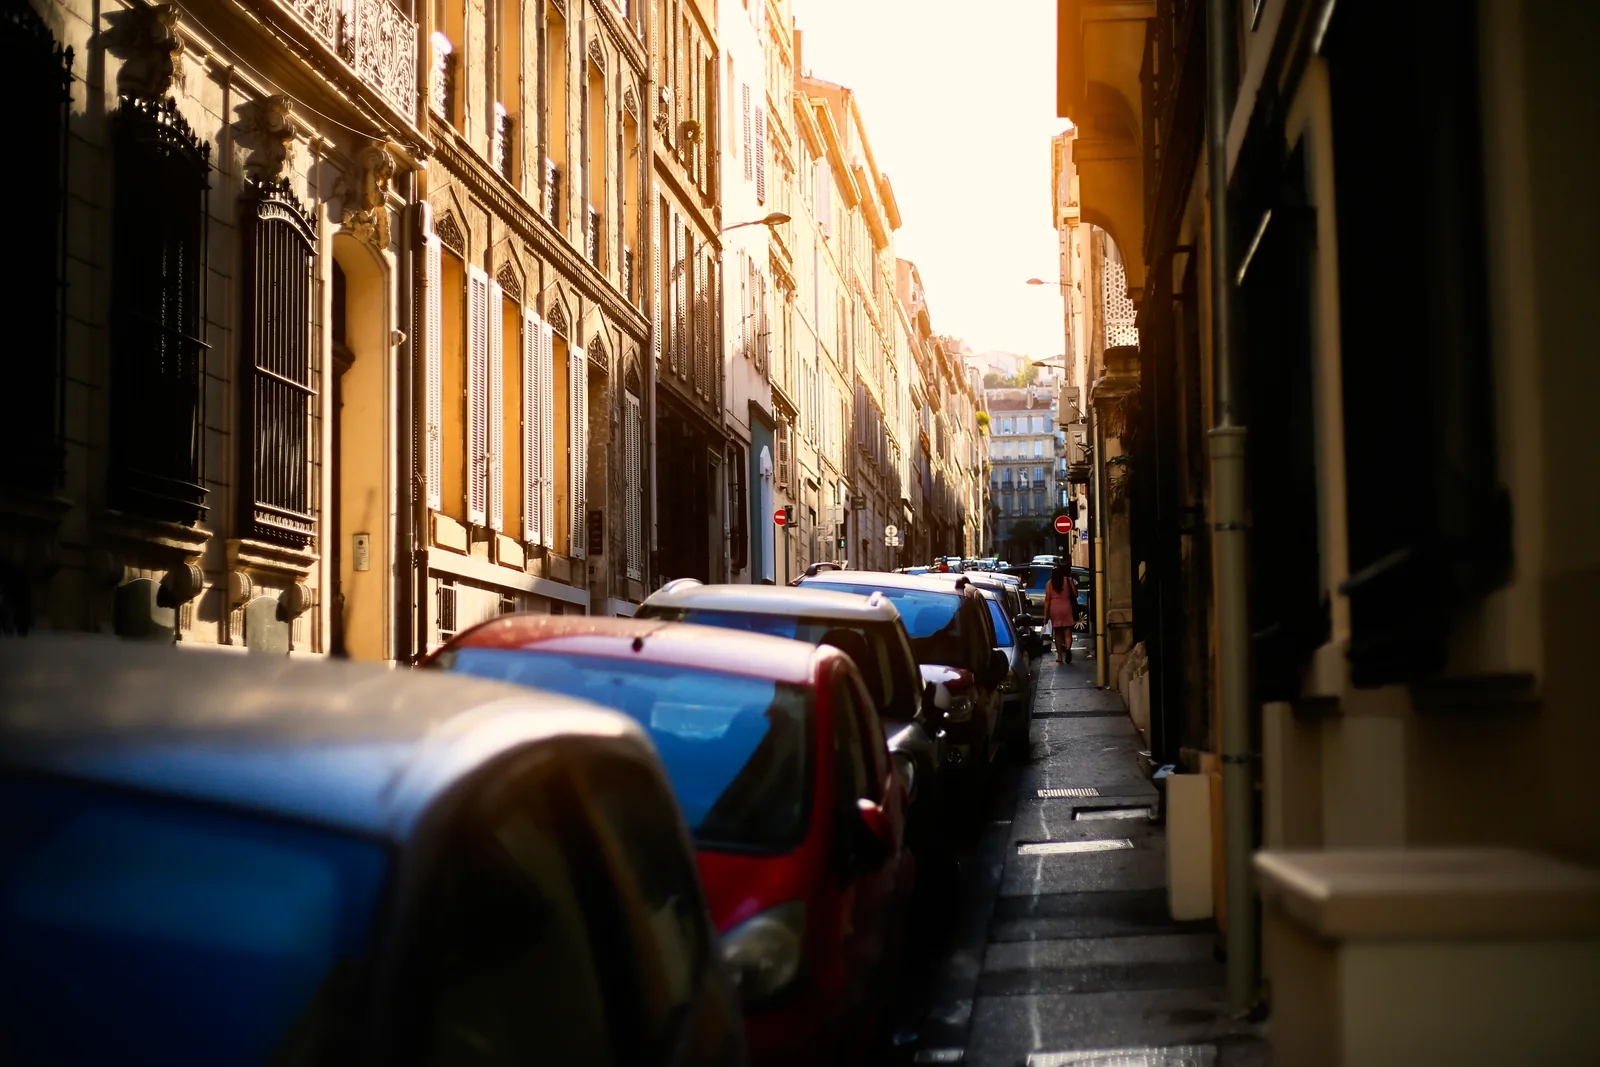
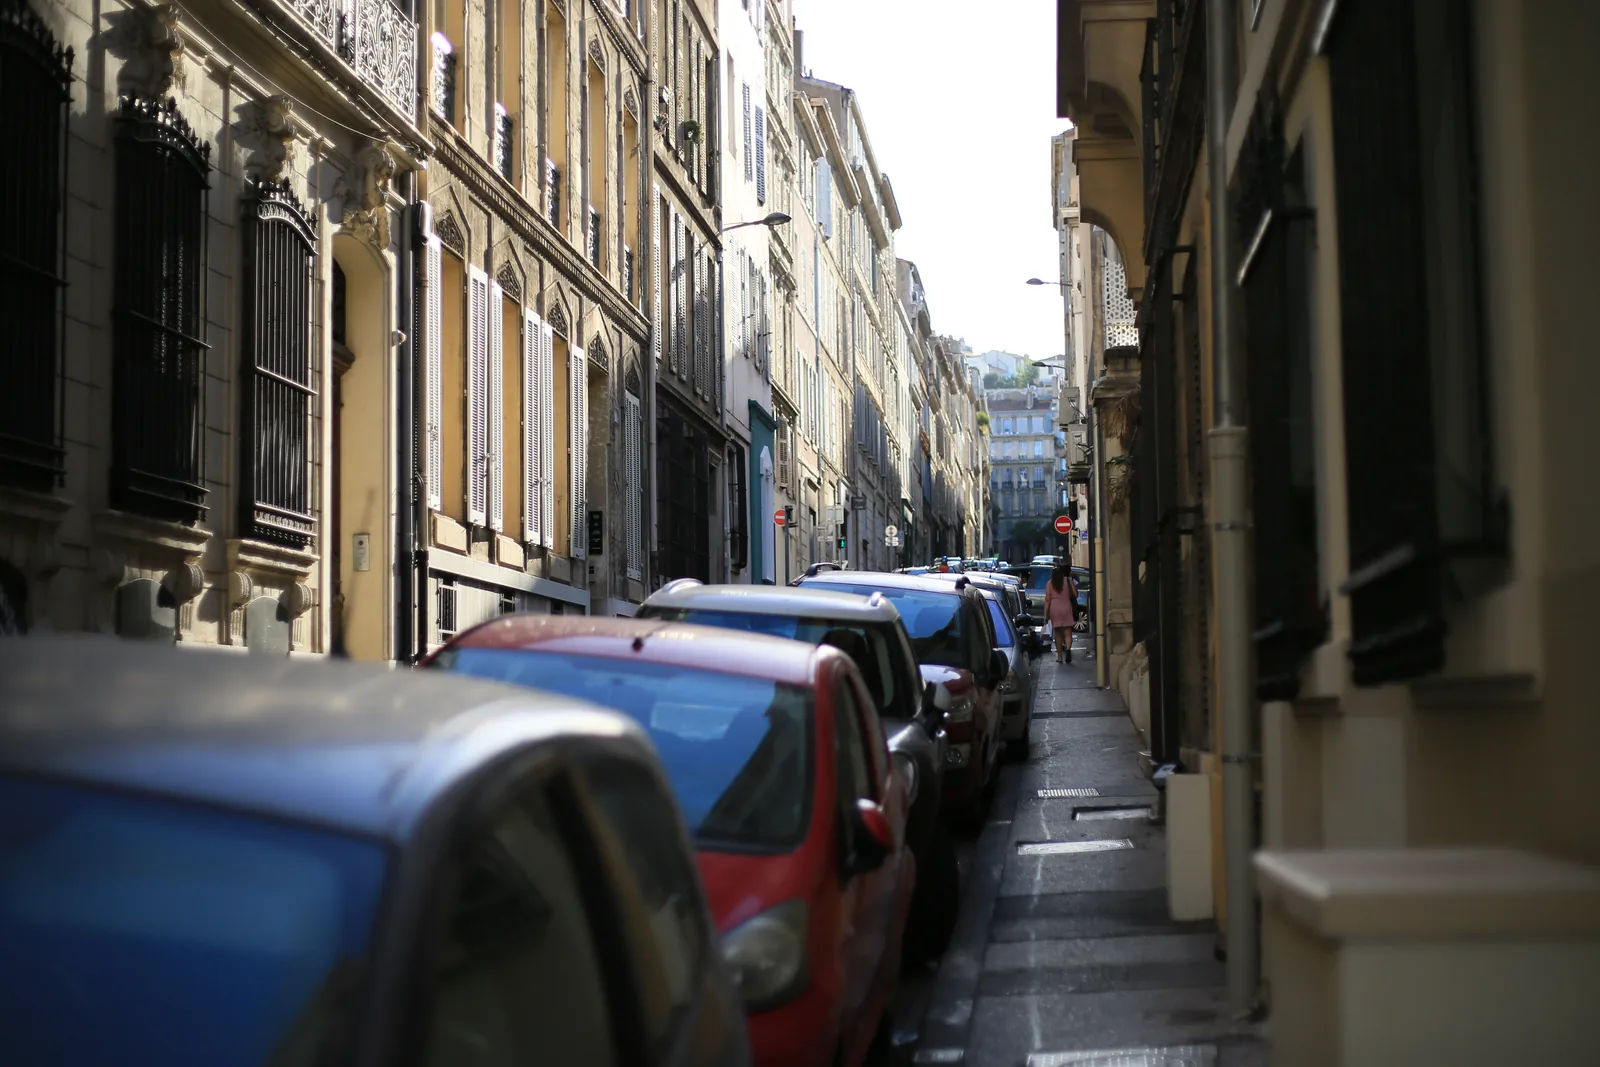
Both are choices, not proof of film. In the photo below, halation was added to the look of Kodachrome 64, a film that had an anti-halation backing [3]: a decision for this photo, not a trait of the film.
Compare the edit at viewing size and check an export
An edit judged zoomed in on a large screen often ends up too strong on a phone, or too weak in a print. Check it the way it will be seen:
- Before and after. In Grain Archive Lab, hold \ to see the photo without its look, or press C to compare before and after side by side.
- At the final size. Fit (⌘0) shows the whole photo. Grain in particular depends on enlargement: the same Portra 400 negative gives a Print Grain Index of 37 in a 4×6-inch print and 59 in an 8×10 [2]. Adobe also suggests checking grain at several zoom levels [4].
- The exported file. Export from Output (⌘3, then ⌘E). In Simple, Share makes a 3000-pixel JPEG, Full quality a full-size JPEG and Print a 16-bit TIFF. Open the file on the device where it will be seen, or print it, before you export a whole series.
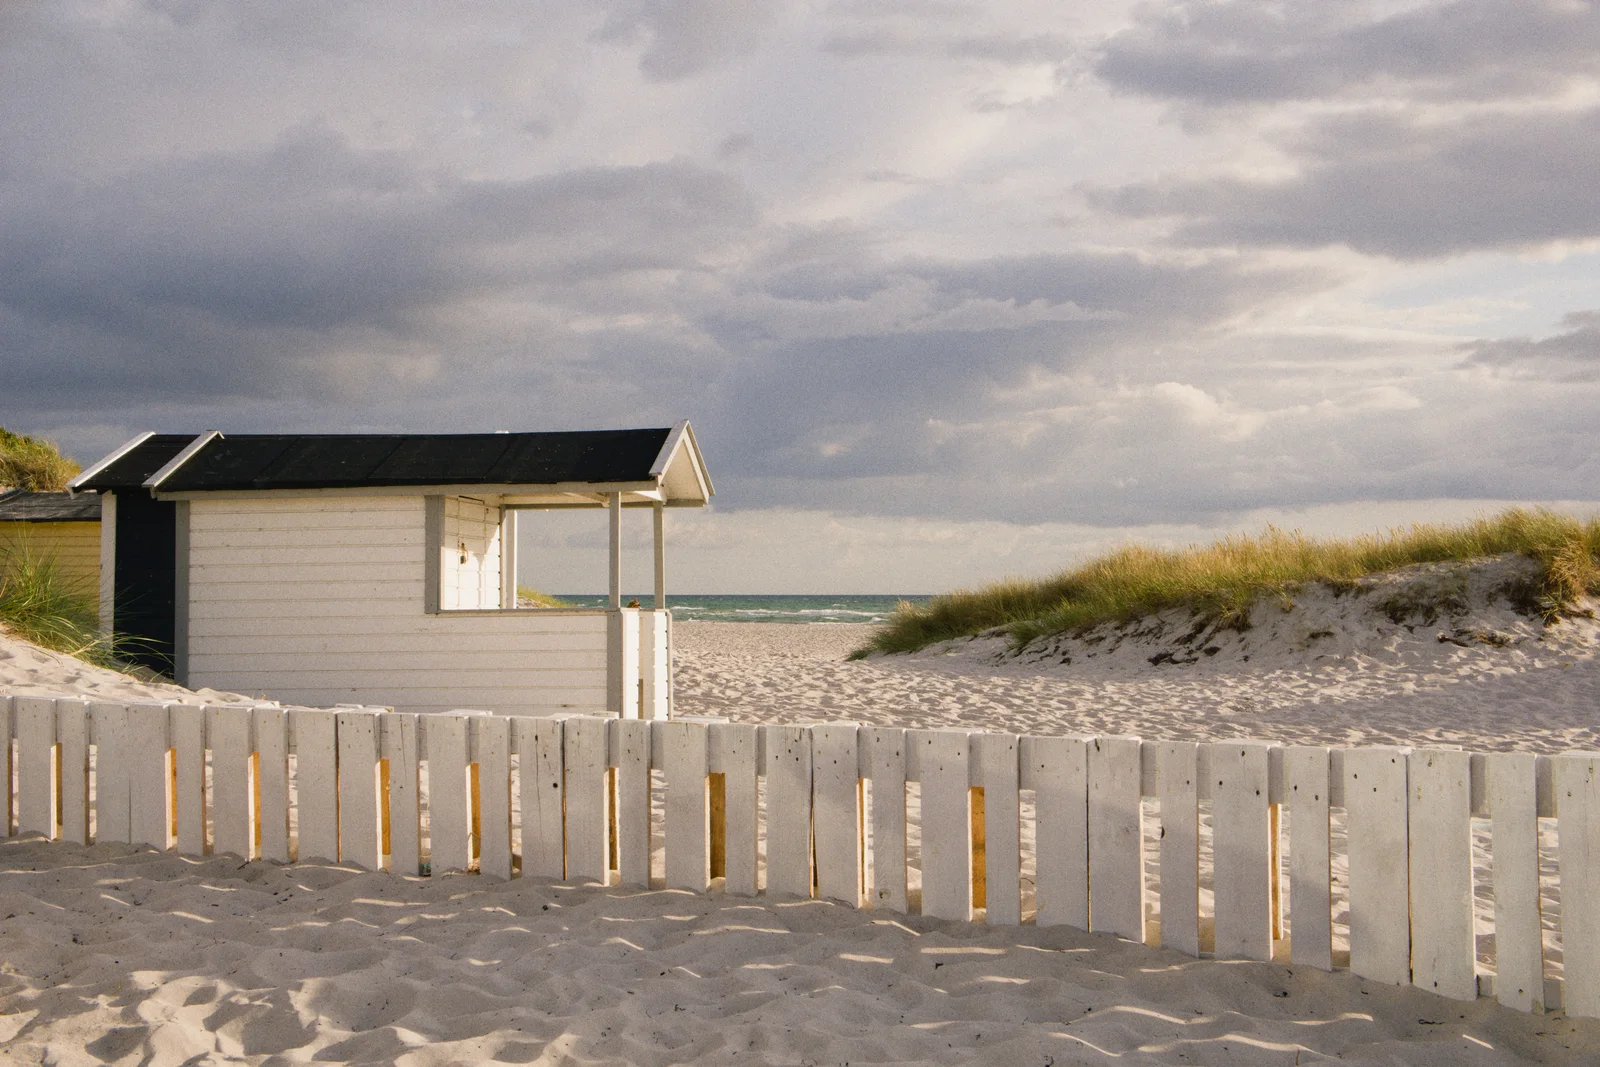
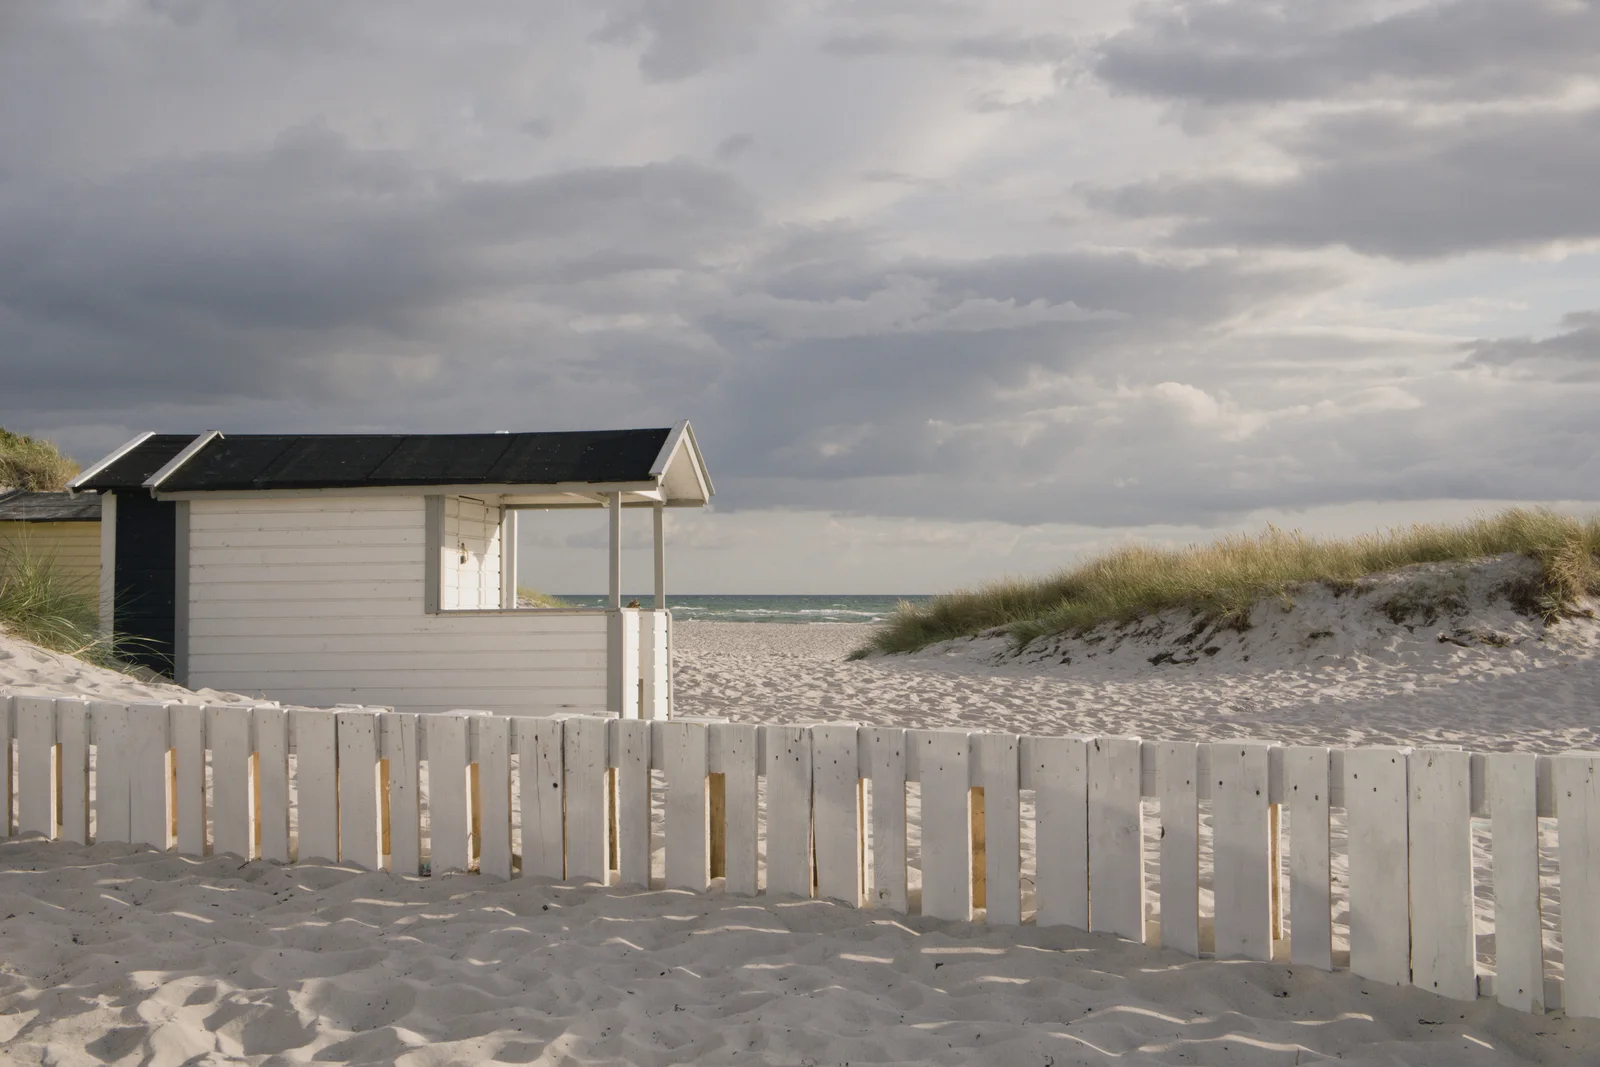
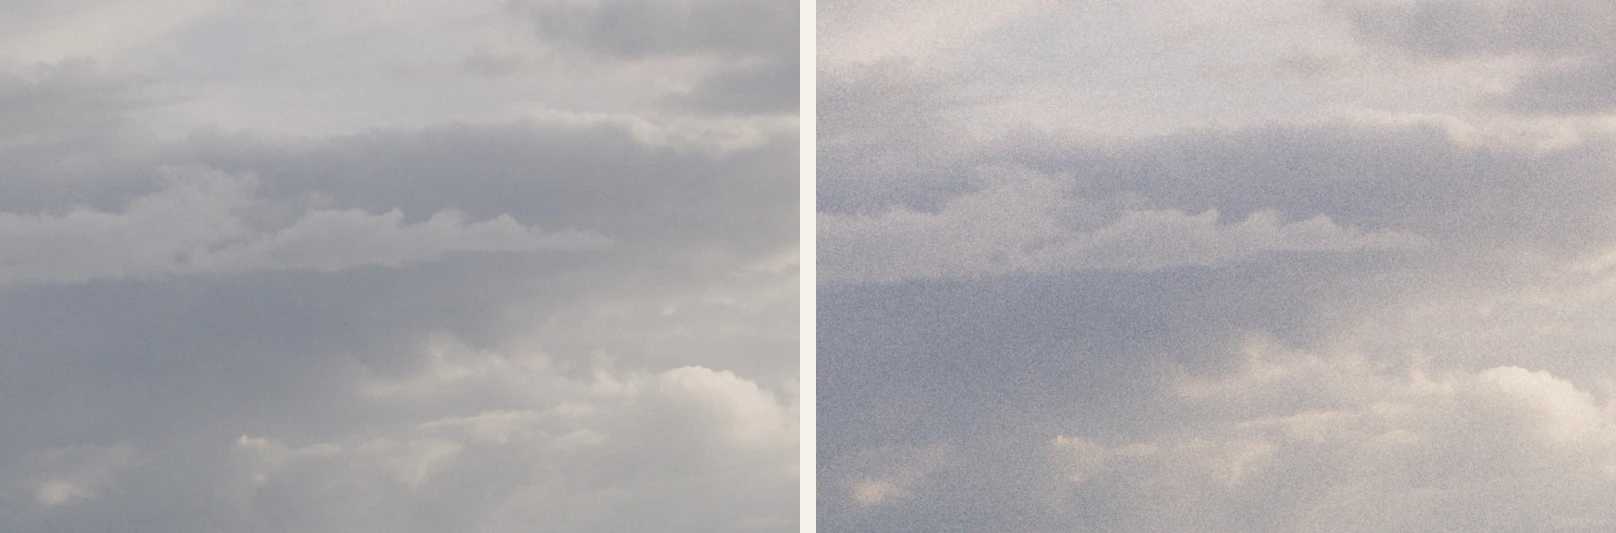
The two exports below are the same RAW file with the Kodak Portra 400 look, once in Subtle and once in Strong. Seen whole, Strong is warmer and more contrasted. At 100%, it also carries much more grain: a version that looks right on a large screen can be too much in a small print, and the other way round.
Repeat the look across a session without forcing identical settings
A session rarely has one light. The same settings that suit a photo in soft daylight can look wrong on one shot at night or against the sun. Keep the film, adjust the light:
- Develop one representative photo first.
- Give its look to the others: ⇧⌘S applies the look to every selected photo, and ⇧⌘C then ⇧⌘V copy and paste all the settings of a photo.
- Go through the photos one by one and correct exposure and white balance where the light changed. Keep the film’s color and grain the same, so the session still reads as one roll.
- For an alternative, make a new version (⌘’): another set of settings for the same photo.
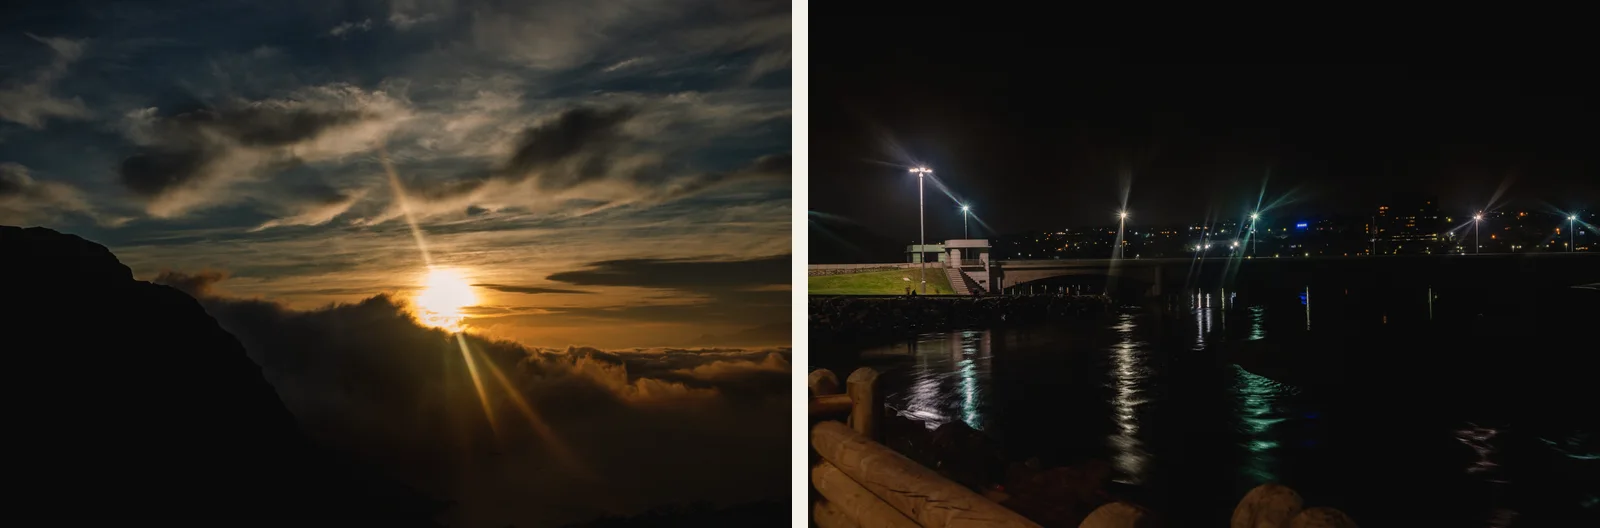
On the sunrise, the look softens the shadows and warms the light. On the night shot, the same settings lift the black sky to a dark warm gray and mute the colors of the street lights. Correct that photo on its own, or give it a look made for that light, such as a tungsten motion picture film for night scenes.
Keep your editor, or use a standalone film workflow
You do not need a new app to work this way. Our presets bring the color and tone of each film into darktable, Photomator and Lightroom; grain then comes from your editor’s own grain, and halation is in a few darktable styles only. The presets page lists them, with a free pack for each editor.
Grain Archive Lab is the standalone way: it sorts, develops and outputs your photos, with the grain set from each film’s datasheet, halation, push and pull, and the print settings. It also gives each photo a border or a frame, and lays a session on a strip of film or a contact sheet. It works on its own, or from Lightroom and Capture One with Edit In. It runs on Macs with Apple silicon, macOS 15 Sequoia or later. Its free trial is the complete app, with a TRIAL watermark on exports: see Grain Archive Lab.
To tell film grain from digital noise before you add any, see film grain vs digital noise.
To show a developed session on one page, see how to make a photo contact sheet on Mac.
Sources
- 1C Gregory K. Wallace: The JPEG Still Picture Compression Standard (1991) Accessed November 5, 2026.
- 2DS Kodak Professional Portra 400, technical data E-4050 (January 2025) Accessed November 5, 2026.
- 3C Wikipedia: Anti-halation backing Accessed November 5, 2026.
- 4M Adobe: Retouch photos, Lightroom Classic (updated October 27, 2025) Accessed November 5, 2026.
DS: datasheet · M: manufacturer · C: review or community