Film grain vs digital noise: what should you change?
Grain, noise and paper texture can all look like “texture” in a photo. They come from different places, behave differently when you enlarge the photo, and call for different decisions. This guide helps you tell them apart, decide what to keep, reduce or add, and judge the result at the size people will see it.
Short answer. Film grain is the texture of the film itself: particles of silver, or clouds of dye in color film, developed in the emulsion [1]. Digital noise comes from the camera: luminance noise looks grainy, color noise leaves colored specks, and both rise at high ISO [3] [4]. Paper texture belongs to the surface of a print. Keep the grain of a real film scan, reduce noise that distracts, and add grain on purpose only if it serves the photo. Then judge it at the final size: the same film shows more grain in a bigger print [2].
A quick way to identify the texture you are seeing
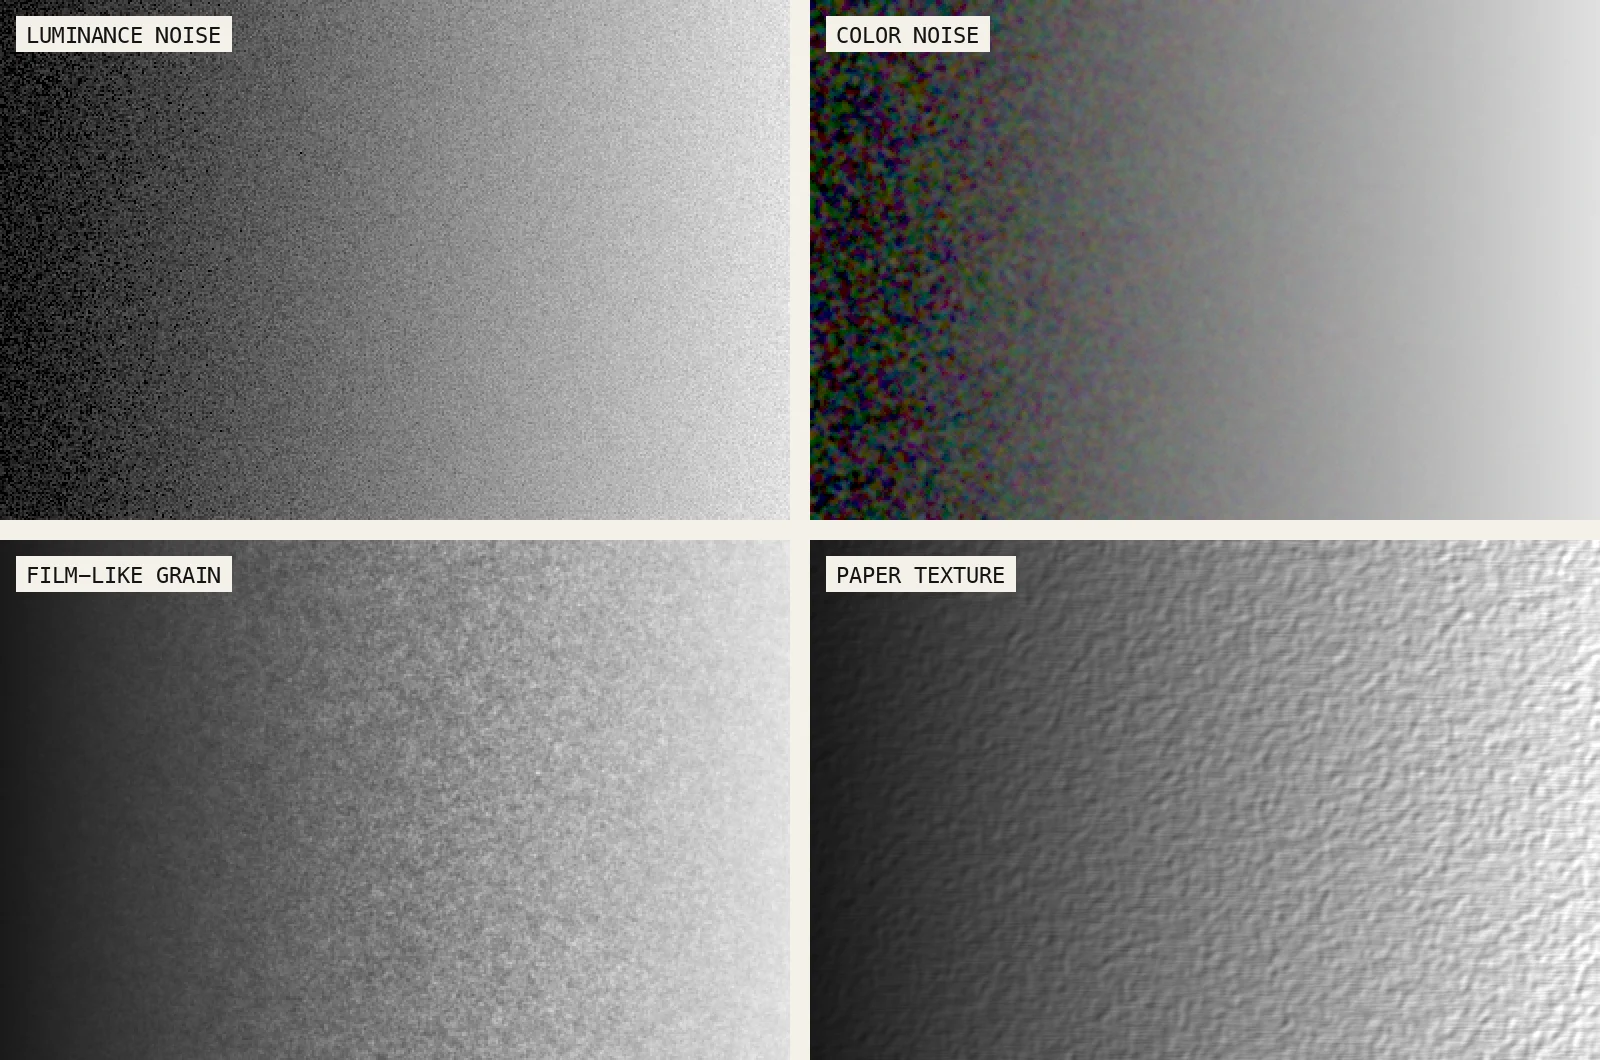
| What you see | Most likely | Where it comes from |
|---|---|---|
| A fine speckle of light and dark, more visible in dark areas, in a digital photo shot at high ISO | Luminance noise | The camera [3] |
| Colored specks or blotches | Color (chroma) noise | The camera [3] |
| An irregular texture across the whole frame of a scan or a print from film | Film grain | The film [1] |
| A regular texture added in editing, with settings for amount and size | Synthetic grain | The editing software [3] |
| A relief that does not follow the picture, such as fibers or a canvas weave | Paper texture | The surface of a print, or a scan of one |
Look at the photo at its final size first, then zoomed in. Texture that shows only at 100% may not matter for the photo you share.
Film grain, sensor noise and synthetic grain are different sources
- Film grain. A film records light in crystals of silver halide. Once developed, they leave particles of metallic silver in black and white film, or clouds of dye in color film. Grain is the optical effect of those particles, not a single particle you can see [1]. Larger crystals make a faster film, and a grainier one [1]. How much grain shows depends on the film and on how much the image is enlarged [1] [2].
- Sensor noise. A digital photo has no grain, but it has noise. Adobe describes two kinds: luminance noise, which makes an image look grainy, and chroma noise, usually visible as colored artifacts. Photos taken at high ISO, or with less sophisticated cameras, can have noticeable noise [3] [4]. Luminance noise can also appear when you brighten the shadows [3].
- Synthetic grain. Editing software can add a grain-like texture on purpose. Lightroom describes its Grain effect as “film-like” or “reminiscent of particular film stocks”, with settings for its amount, size and roughness [3] [4]. It is a simulation: it does not turn a digital photo into a film scan.
When to keep texture and when to reduce it
- Keep the grain of a film scan. It is part of the film you chose, and noise reduction applied to it can also remove detail [3].
- Reduce color noise first. Adobe counts noise among what can degrade image quality, and color noise shows as colored artifacts [3]. Go easy, though: in Lightroom, a lower color detail setting removes more speckles but can make colors bleed [3].
- Reduce luminance noise with care. More reduction gives a cleaner picture but can remove detail; preserving detail leaves more noise [3]. Leaving a little luminance noise keeps more of the detail.
- Add grain after noise reduction, not instead of it. Synthetic grain covers some defects: Adobe suggests its Grain effect can also mask resampling artifacts [4]. It does not remove color noise.
Why grain and paper texture need separate controls
Grain is in the picture: when you enlarge the photo, the grain grows with it. Kodak’s figures for Portra 400 show it: the same 35 mm negative gives more graininess in an 8×10-inch print than in a 4×6-inch one [2]. Paper texture is on the surface of the print. It keeps its own size whatever the size of the picture, and does not change with the film. Kodak lists, among the papers Portra 400 is made to print on, a canvas paper and a metallic paper [2]: the same negative can end up with very different surfaces.
So set them apart. A grain that looks right on a small print can look heavy on a large one, while a paper surface stays the same. In Grain Archive Lab, grain belongs to each film look; its paper borders draw the edge of a print, not the texture of its surface.
Judge texture at export size, not only at 100 percent
Kodak measures graininess with its Print Grain Index: 25 is about the threshold where graininess becomes visible, and a higher number means more of it. All the prints are judged from 14 inches, the usual viewing distance of a 4×6-inch print. Kodak adds that larger prints are usually seen from farther away, which reduces how much grain shows [2].
| Kodak Portra 400 | 4×6-inch print | 8×10-inch print | 16×20-inch print |
|---|---|---|---|
| 35 mm negative | 37 | 59 | 89 |
| 6×6 cm negative (120) | 25 | 37 | 59 |
Print Grain Index from the Portra 400 datasheet [2]. A higher number means more visible grain.
The same film, at the same print size, shows less grain from a larger negative, because it is enlarged less. Do the same with your own photos:
- Look at the export, at the size it will be seen: on a phone, a screen, or a print at arm’s length. Adobe also suggests checking grain at several zoom levels [4].
- Do not judge grain only at 100%. At 100% you see every pixel of the file, larger than most people will ever see it.
- Think of the format. In Grain Archive Lab, the Format setting of the grain, 35 mm, 120 or 4×5, stands for how much the film would have been enlarged: a 35 mm frame is enlarged more than a 4×5 sheet for the same print, so its grain shows more.
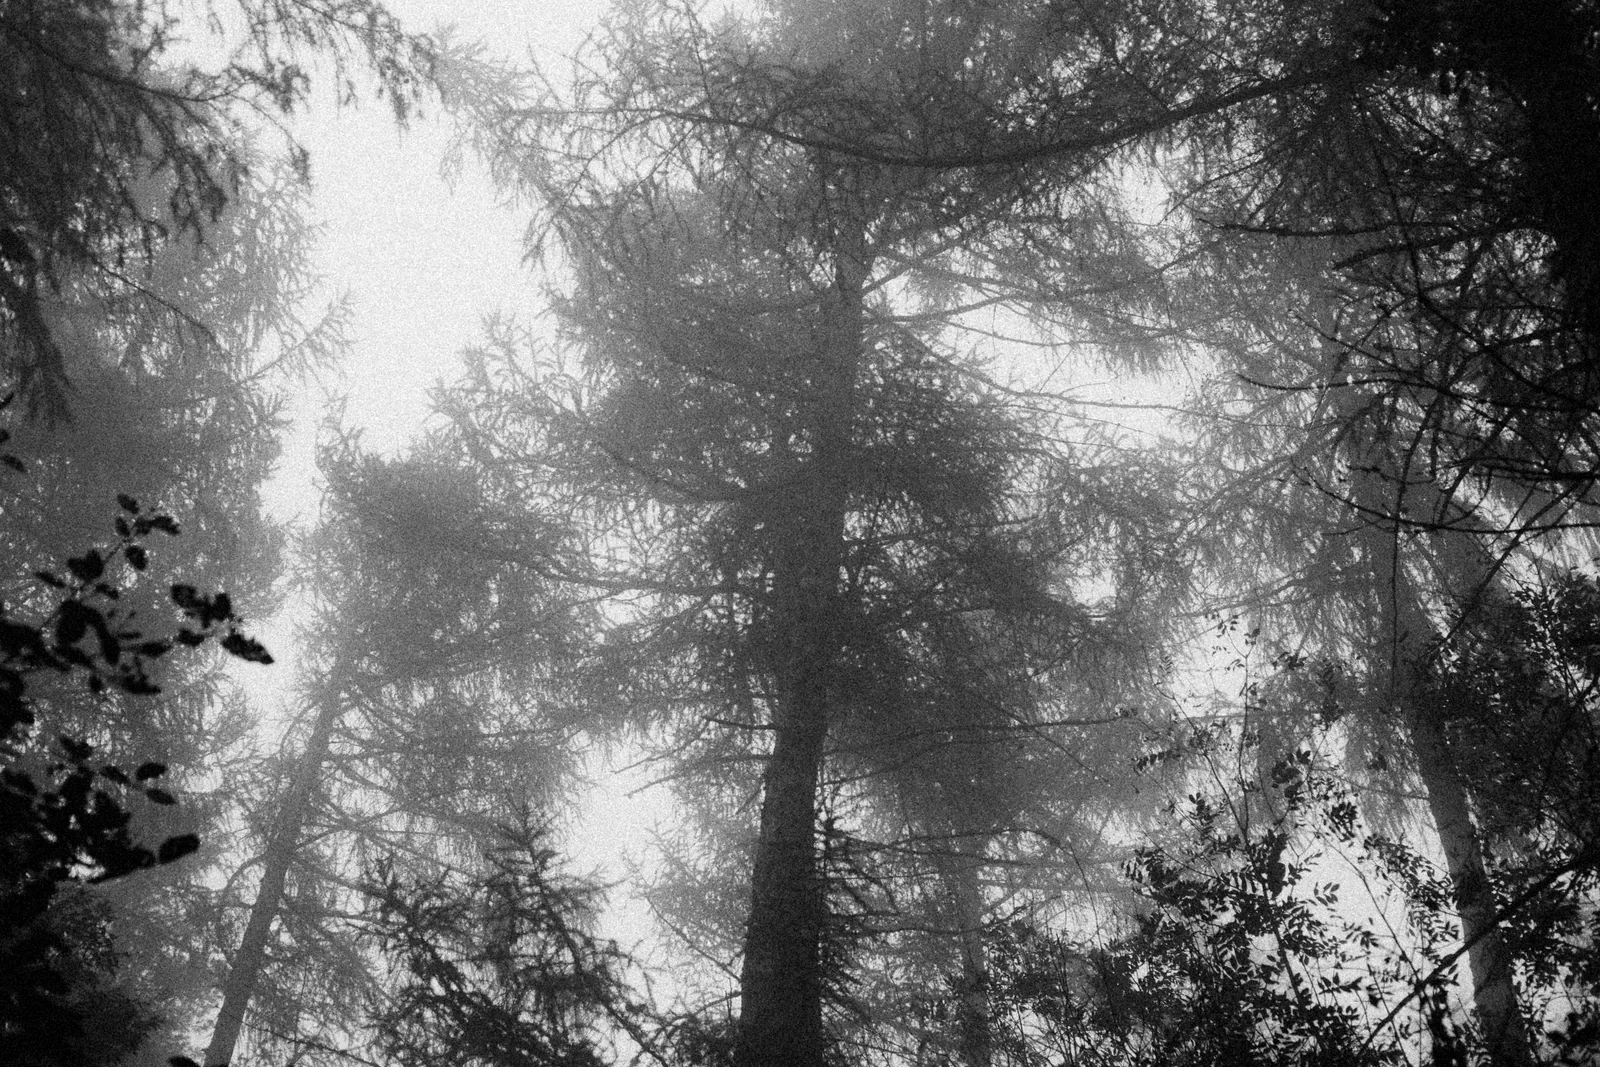
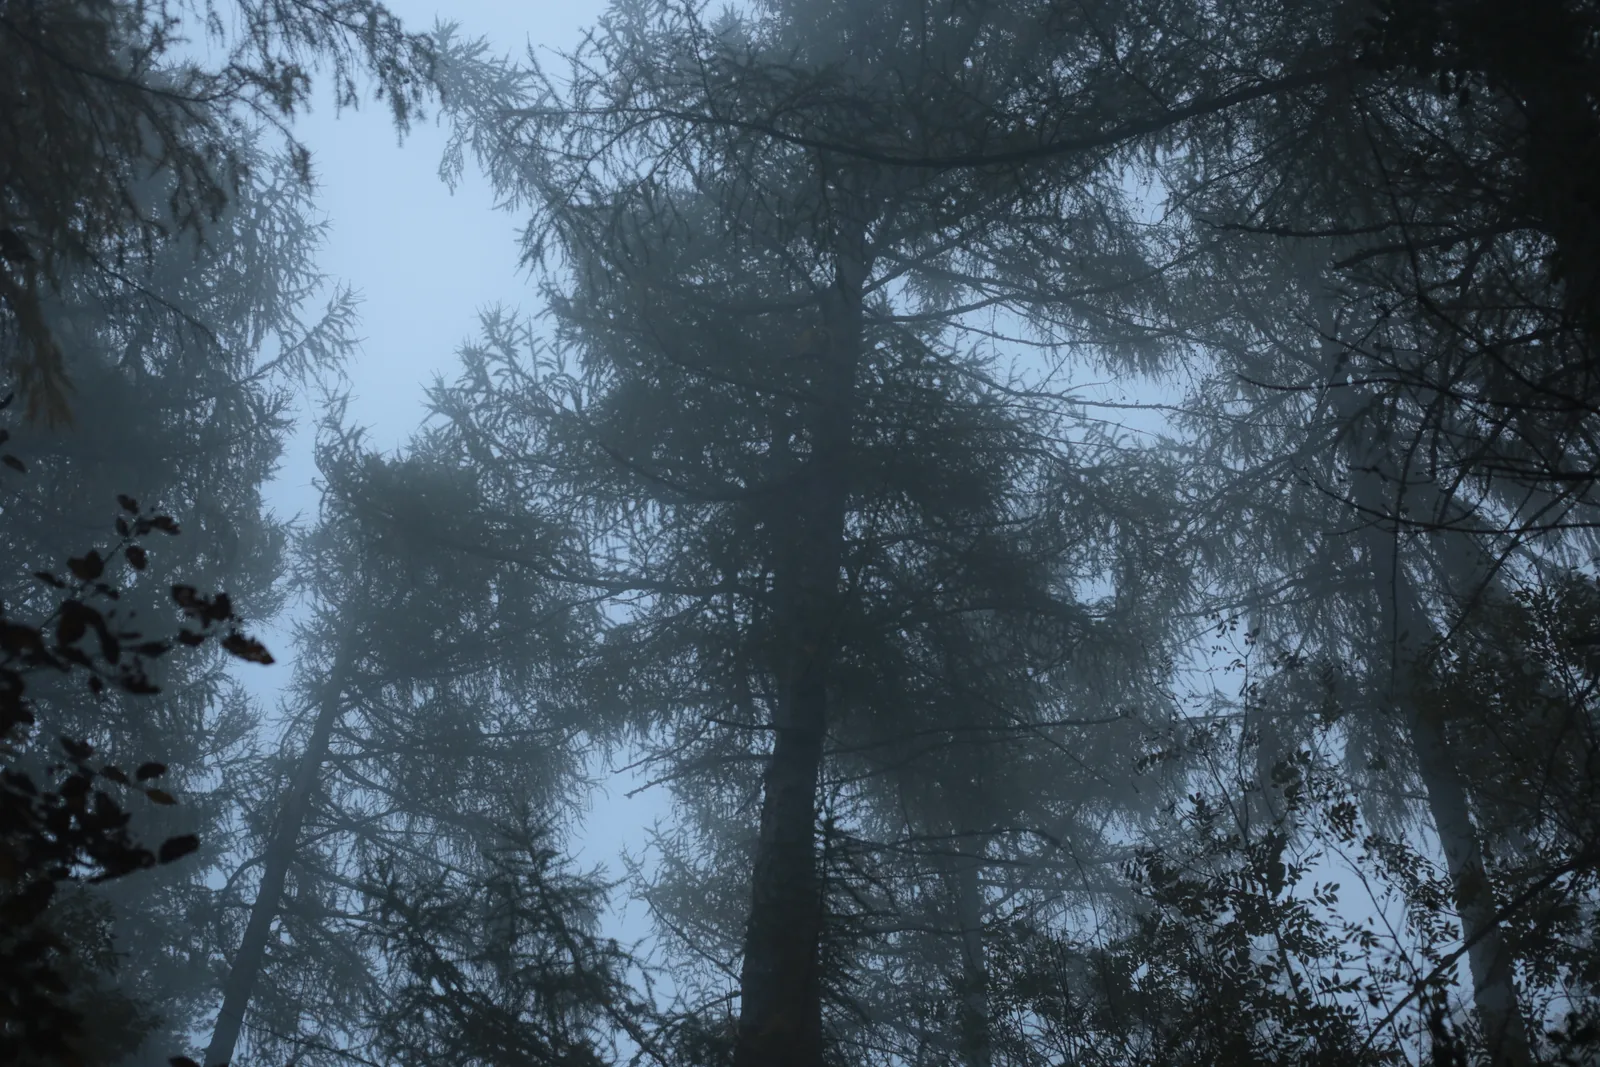
Add a deliberate grain effect without promising a film scan
If you add grain, decide what it stands for:
- Which film. A slow film has finer grain than a fast one [1]. The Ilford Delta 3200 and Kodak Portra 400 sheets of the archive give the grain figures of their datasheets.
- Which format and print size. As above, the same film shows more grain when it is enlarged more [2].
- How much. Start from the film, then lower it for a photo that already has noise or fine detail, and raise it only if the texture adds something.
In Lightroom, the Grain effect has Amount, Size and Roughness [3] [4]. In Grain Archive Lab, each film look brings the grain of its film, set from the film’s datasheet, with Amount, Size, Color and Format; pushing the film adds grain, as in development. See film grain in Grain Archive Lab.
Whatever the tool, call it what it is. A digital photo with grain added is a simulation of a film’s look, not a scan. If you show it next to real film, say which is which.
For the rest of a film-inspired edit, color and contrast, halation and the export, see how to make digital photos look like film on Mac.
Sources
- 1C Wikipedia: Film grain Accessed November 5, 2026.
- 2DS Kodak Professional Portra 400, technical data E-4050 (January 2025) Accessed November 5, 2026.
- 3M Adobe: Edit photos, Lightroom desktop (updated October 18, 2026) Accessed November 5, 2026.
- 4M Adobe: Retouch photos, Lightroom Classic (updated October 27, 2025) Accessed November 5, 2026.
DS: datasheet · M: manufacturer · C: review or community